
To see more winemaking equipment I've built, click here.
After looking around at different basket presses, I was especially wary of the wooden ones. New presses were outrageously expensive and I was concerned with the bacteria present in used ones. I decided to build my own from HDPE plastic, the same as used in cutting boards. Luckily, there is a local place that takes smaller orders of this material.
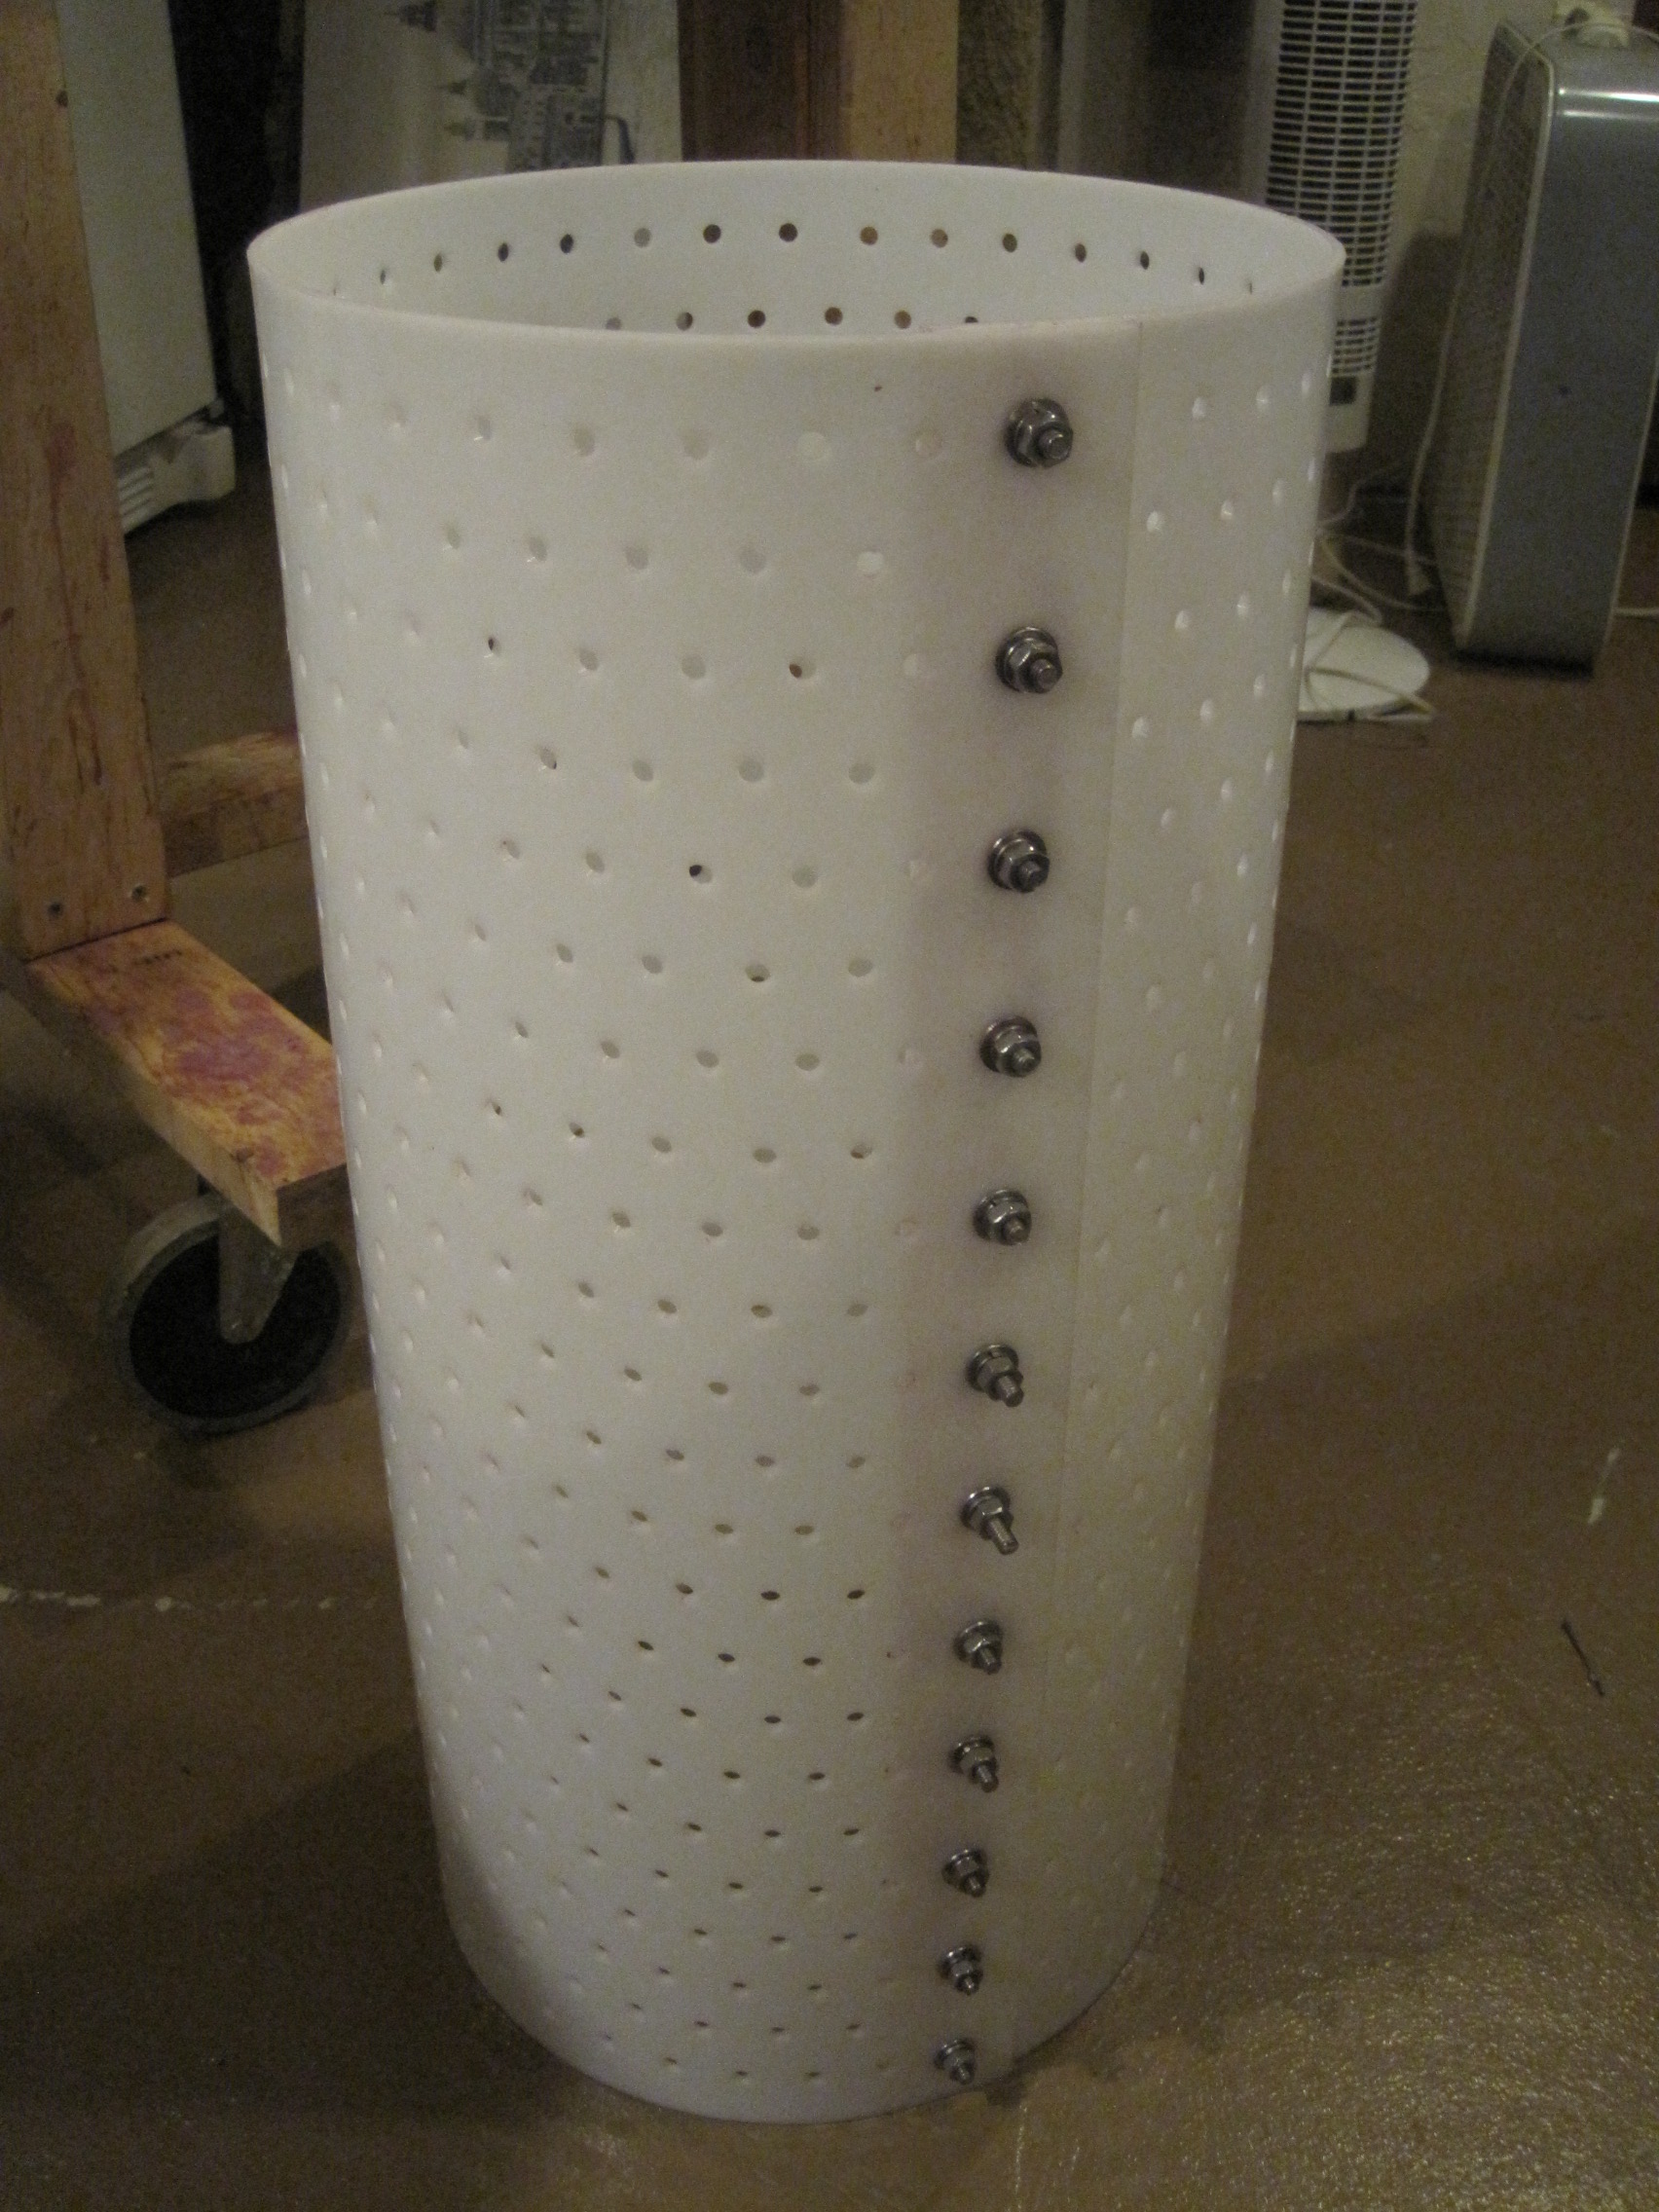
The first part to make was the basket. This required a sheet of 1/8" HDPE that is 24" x 38". This would make a basket with a diameter of around 12". I then drew a grid pattern on the sheet, drawing lines every inch. At the intersection of each line, I drilled a ¼" hole with a standard drill bit. (Drilling or cutting HDPE is very easy). After a lot of drilling, I folded the sheet in a circular pattern to line up the last set of holes and inserted a ¼" x 20 stainless steel bolt (with a washer, lock washer and nut). This holds the basket together. After a total of 12 bolts were inserted and tightened, the basket was done. I made the press plate out of 1" HDPE, and simply laid it over the basket, drew an outline and cut it to the exact shape.
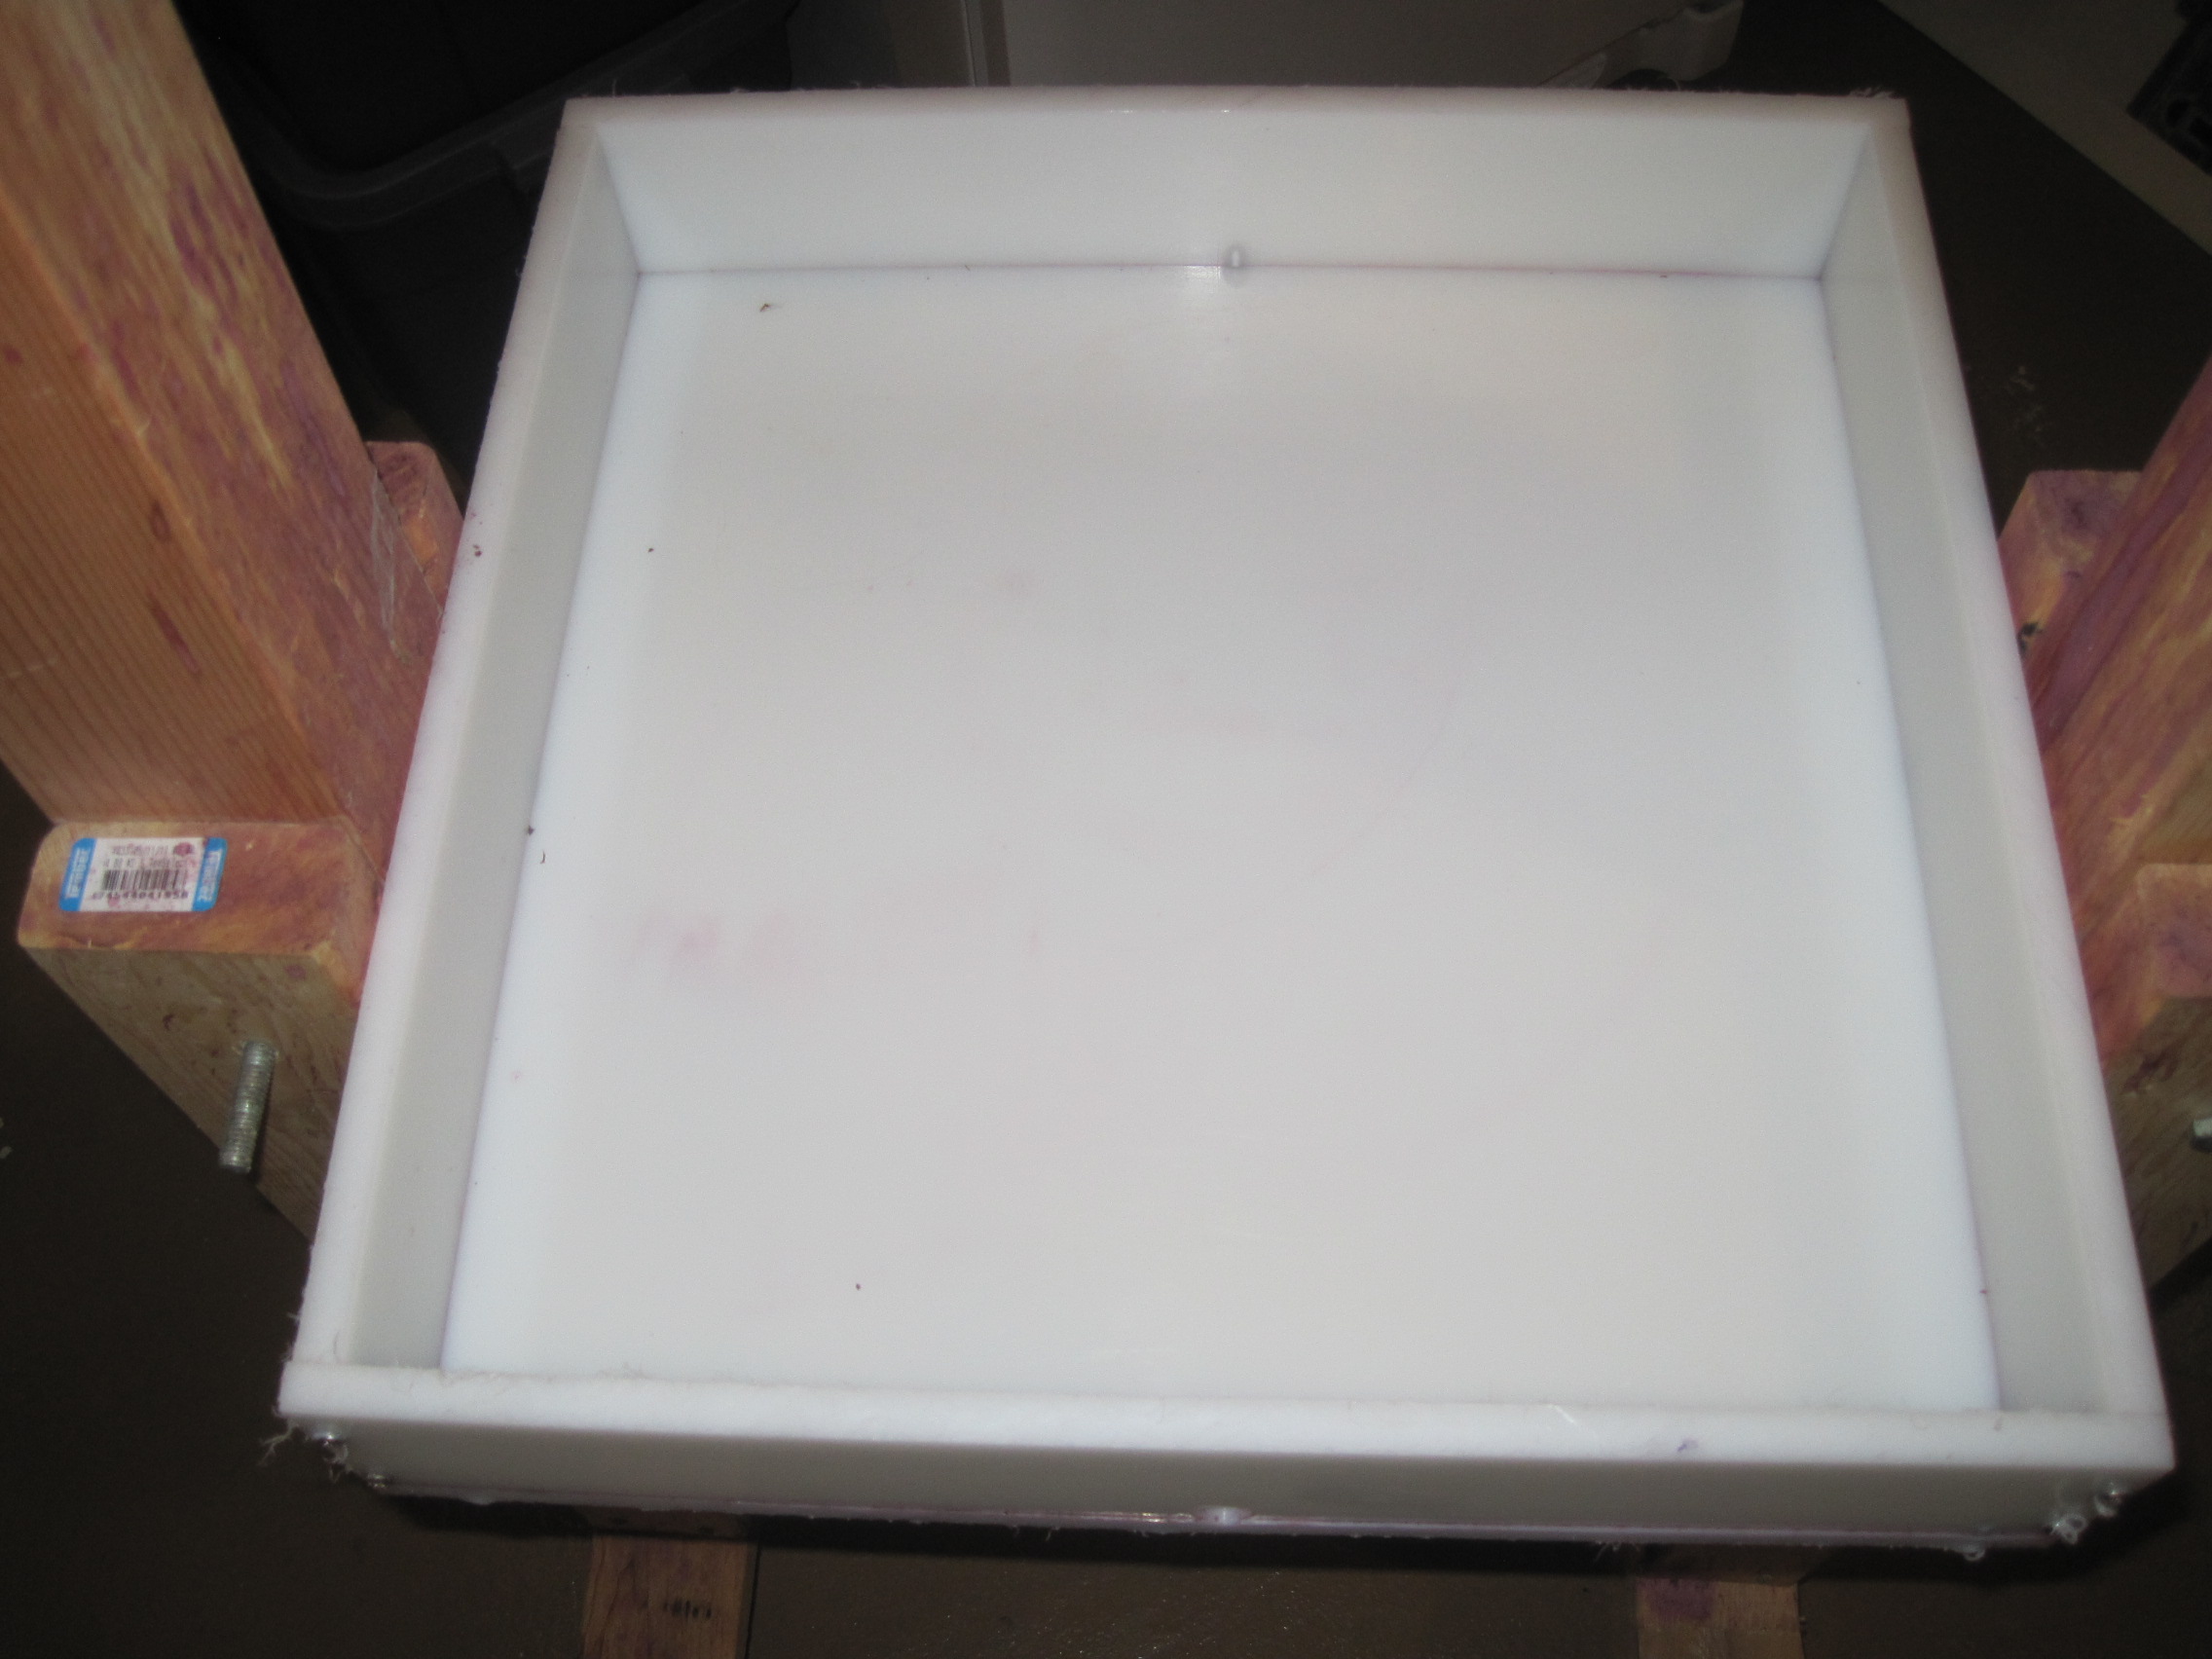
The next piece was to construct the tub. The tub consists of ½" HDPE sheet. It has an 18" x 18" bottom, and 4" sides. After cutting all the pieces to fit (one side's pieces are only 17" since these are inside the 18" x 18" piece), I attached each piece from the bottom with stainless steel screws. I then sealed it with RTV-108 food grade silicone caulking. This prevents any leakage through the seams. I then drilled a 1" hole through the front of one of the sides. This is the drain hole.
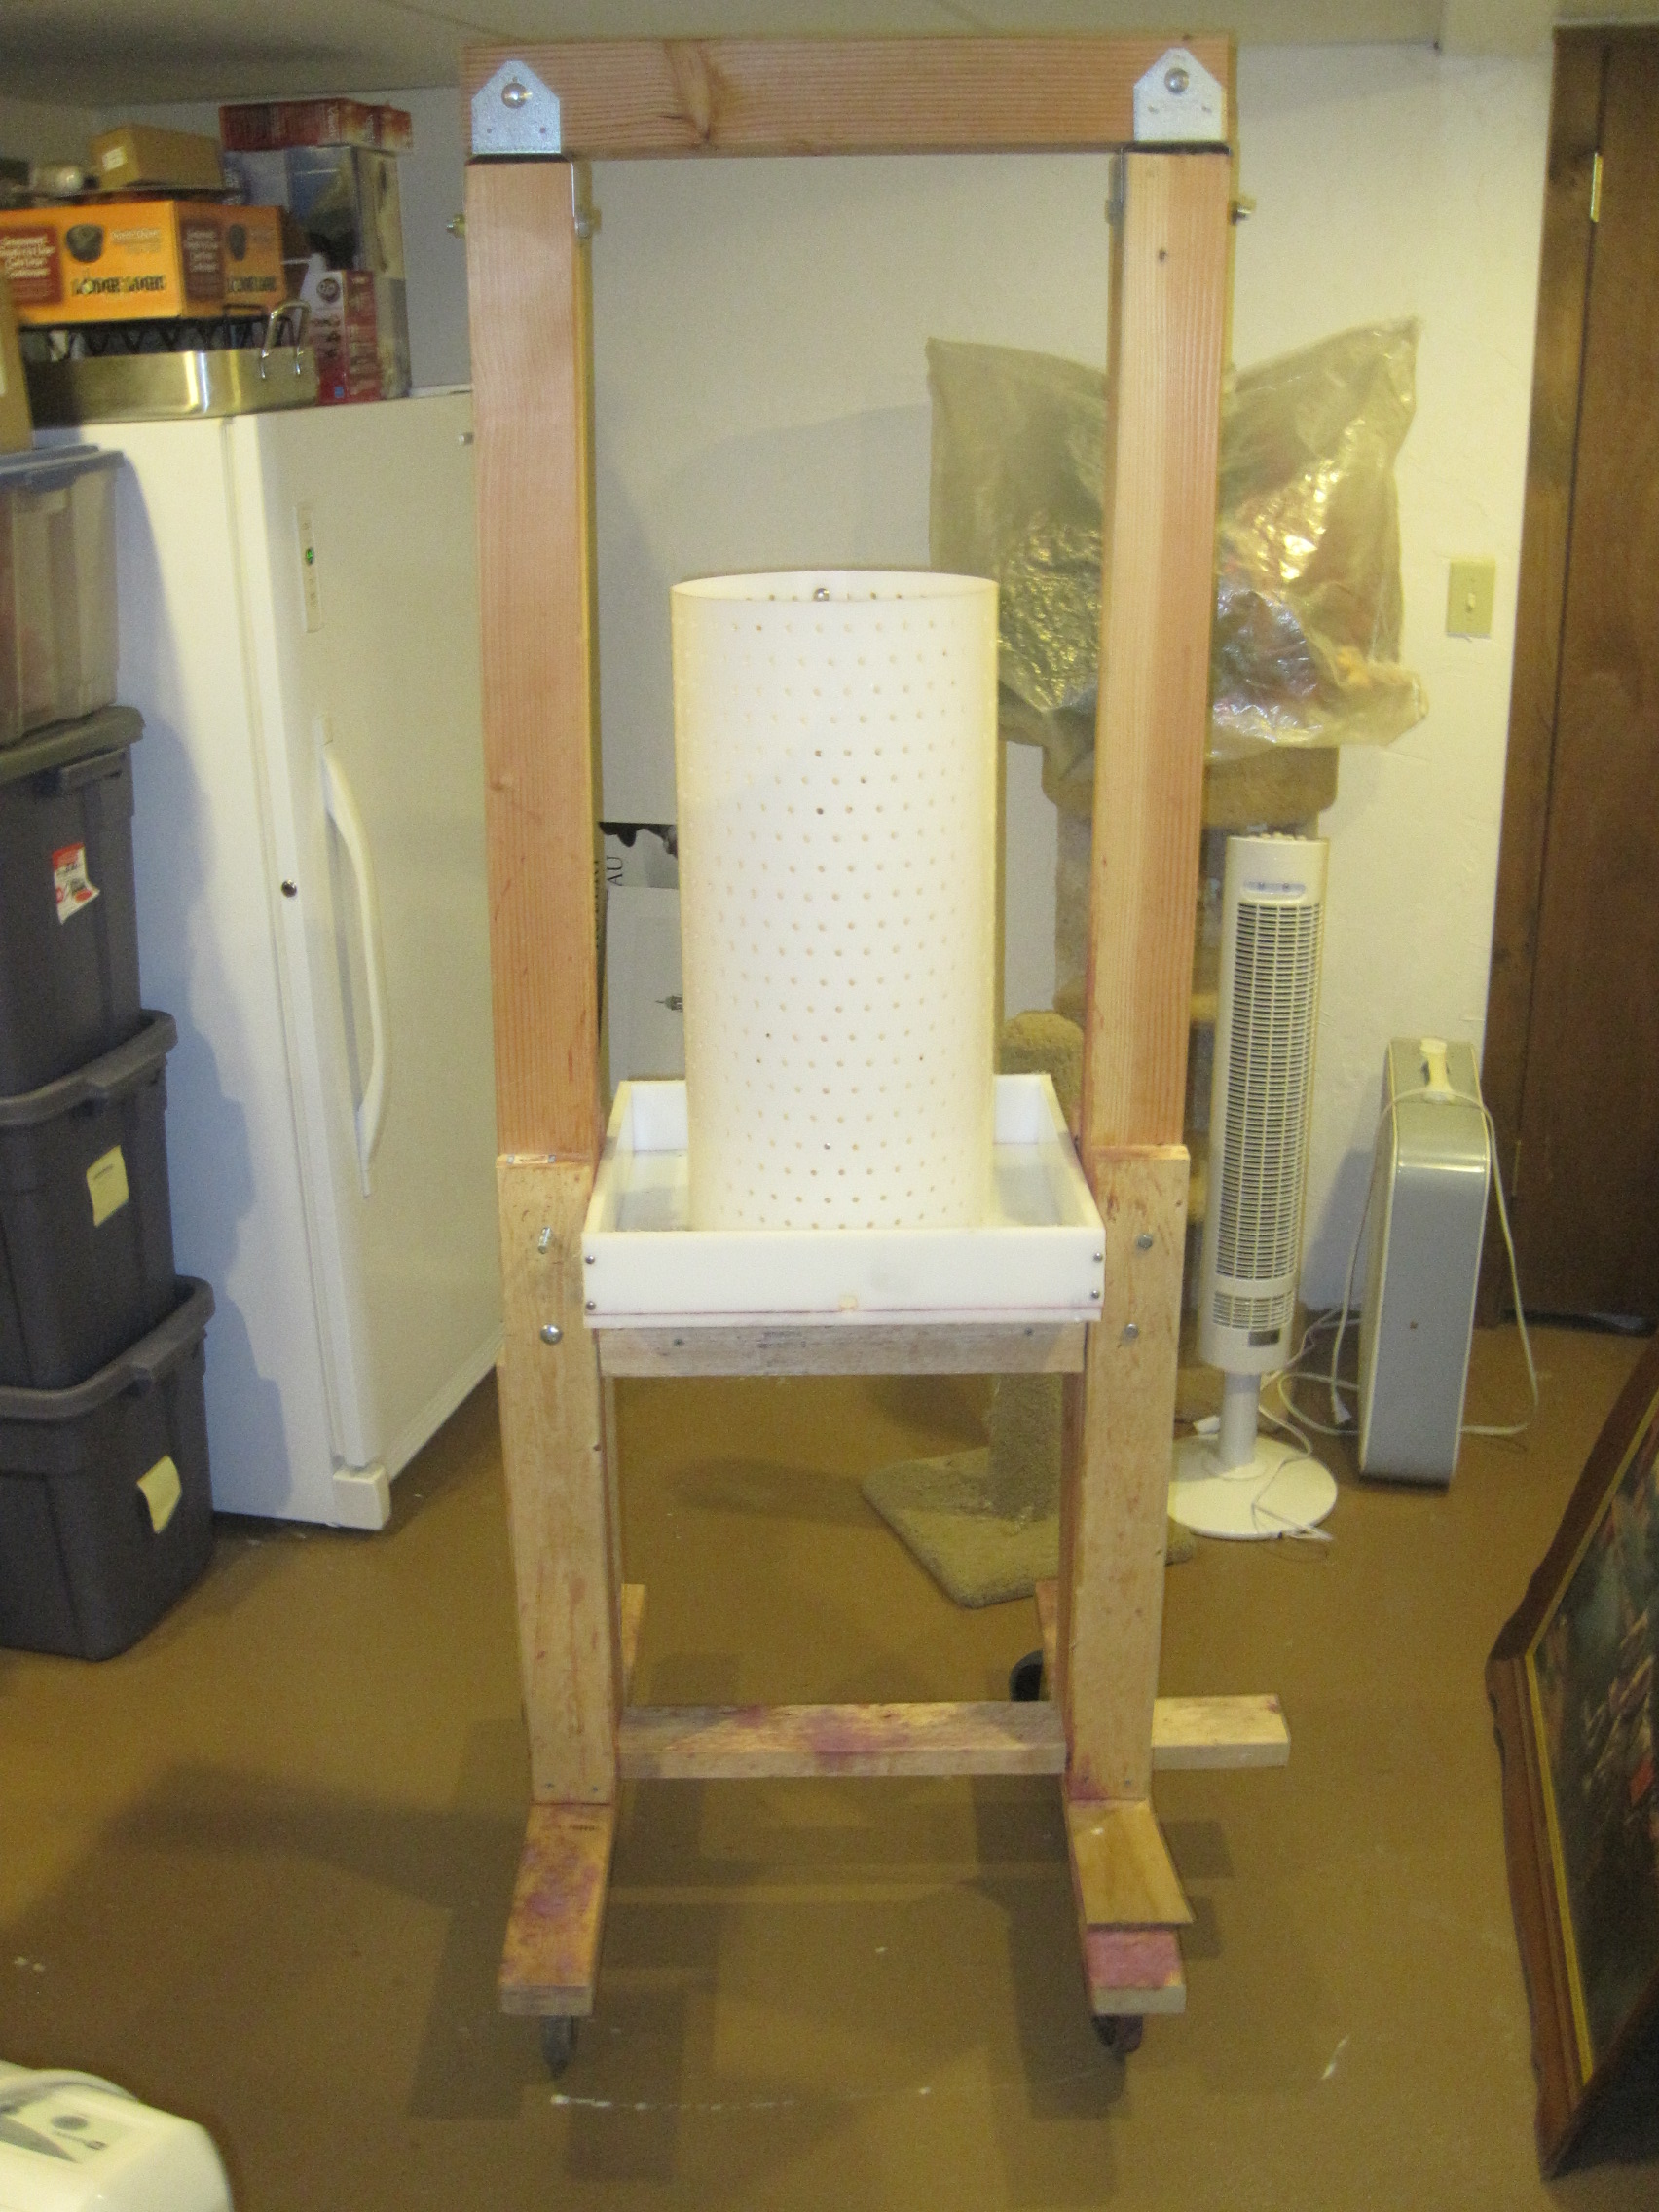
The next part was to build the frame. It's a fairly straightforward design utilizing 4x4 and 2x 4 lumber. The base consists of two 2 x 4" each cut to 20". I put these parallel on the floor. Then, I took a piece 24" long and put it on top of the other two pieces directly in the center. (It looks like an "H"). I then screwed the pieces together. Next, I took 4 34" 2 x 4's and put them on either side of the top piece of the H on both sides and screwed them into that top piece of the H. This creates a "pocket" for the top part of the frame to fit into. Then, I cut two 26" pieces of 4 x 4 and place them in between the 2 x 4's that I just made into a pocket. I then cut a 25" 4 x 4 to lay across the top pieces. So now, my pocket is 4" (same height as the sides of the tub). Then, I made the top piece of the frame by cutting two 4 x 4" at 39" and one piece at 24". I put these together at the top with post brackets from Home Depot. This is where a lot of the force will be concentrated. I attached these with grade 8 ½" bolts on both the top and bottom. I then slipped this assembly into the pocket and drilled holes for bolts. This allows for the top part to be disassembled if need be. I then added 4 lockable casters on the bottom for ease of movement.
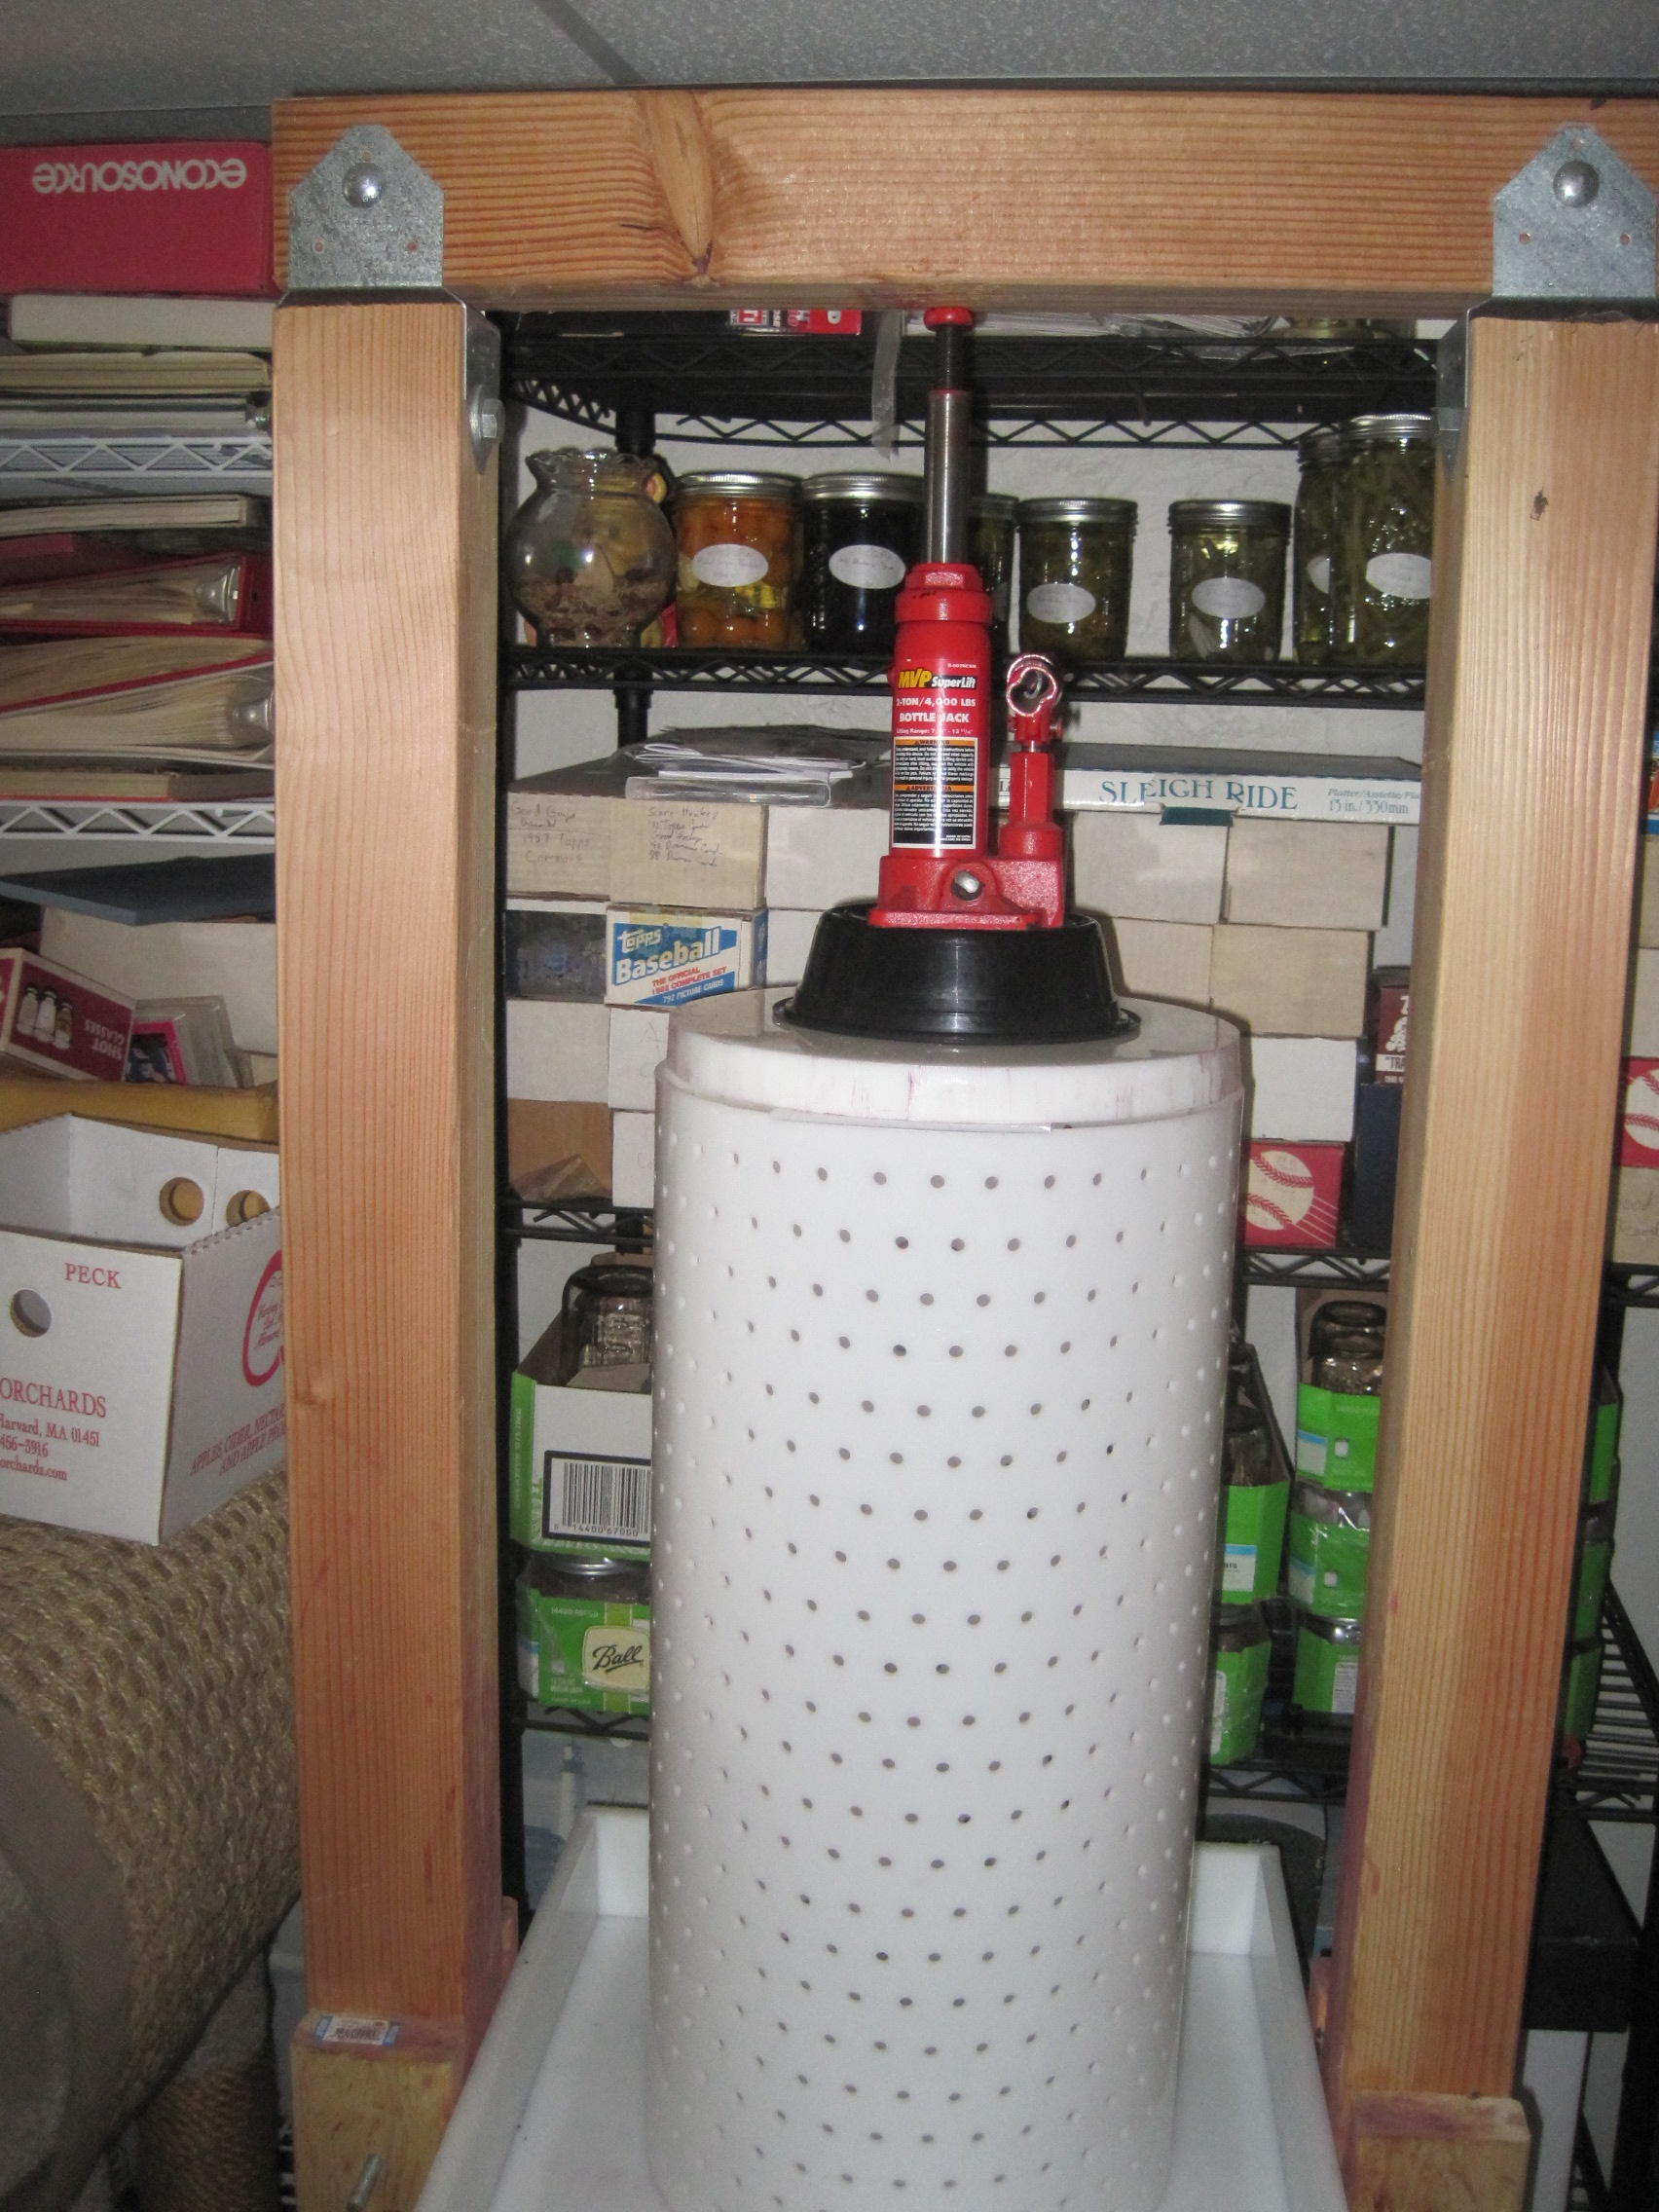
I utilized a 4 ton bottle jack from Harbor Freight and used additional 4 x 4 blocks to get the right height on the press plate.
Here is a video of the press in action:
I have a couple things I would do differently. The first is to make the press basket wider and shorter. Right now, at 24" tall and 11.5" wide, it is tough to load wine. I think it would be better to make it 16" wide and 16" tall. The press plate would have to be bigger, but it would probably work better. The other thing is to make the tub walls higher. I have experimented with using buckets and those help contain flying juice and popping berries better than the low walls I have now.
If you would like to be added to our mailing list to get updates when new things are posted, send us a message here.